
 Kia Sportage: Components of the Tyre Mobility Kit. Using the Tyre Mobility Kit
Components of the Tyre Mobility Kit
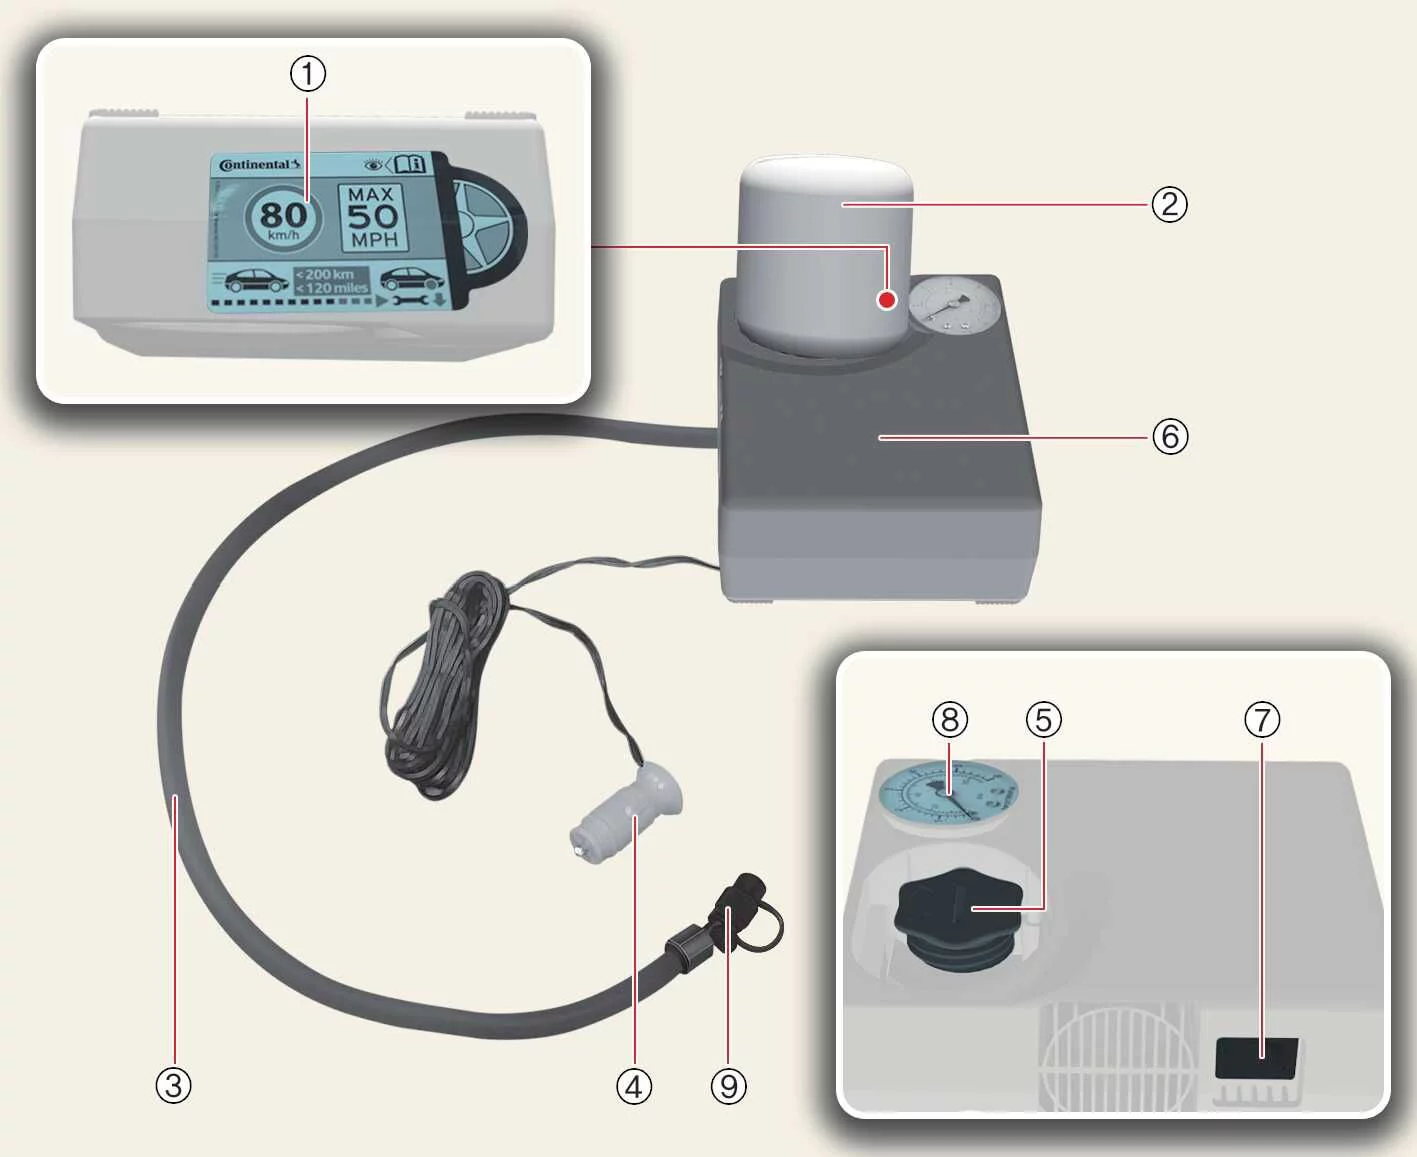
The connectors, power cable, and connection hose are stored in the compressor housing.
Follow the specified connection sequence carefully. If the steps are performed out of order, sealant may escape under high pressure.
- Speed restriction label
- Sealant bottle
- Sealant bottle filling hose
- Power outlet connector
- Sealant bottle holder
- Compressor
ON/OFFswitch- Tyre inflation pressure gauge
- Tyre inflation pressure valve
Using the Tyre Mobility Kit
Procedure
CAUTION
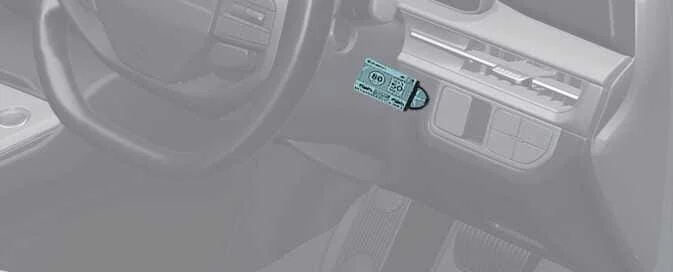
Remove the speed restriction label from the compressor and place it somewhere clearly visible inside the Kia Sportage, such as on the steering wheel. The label reminds you to observe the speed limit while using the kit.
 |
-
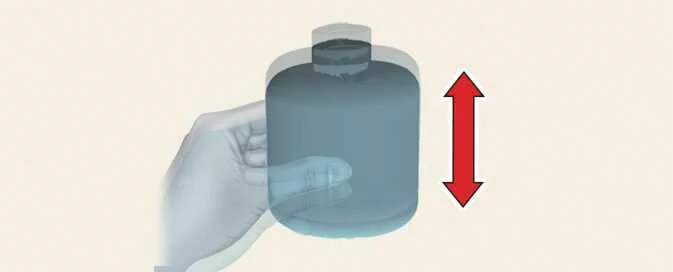
Shake the sealant bottle thoroughly before use.
-
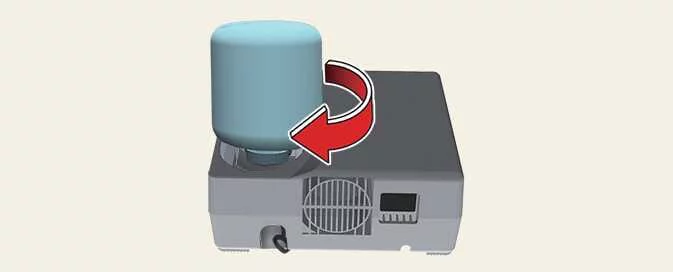
Remove the cap from the sealant bottle and the cap from the sealant bottle holder. Screw the bottle onto the holder securely.
-
Check that the valve on the compressor filling hose is locked.
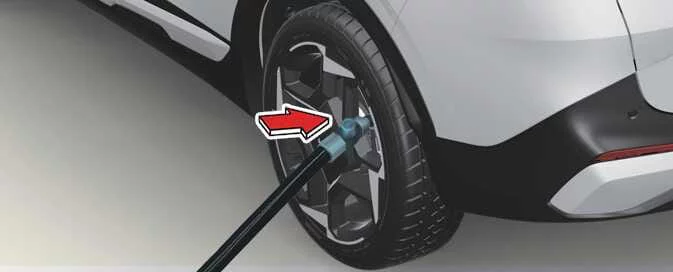
-
Unscrew the cap from the tyre valve, then screw the filling hose onto the valve.
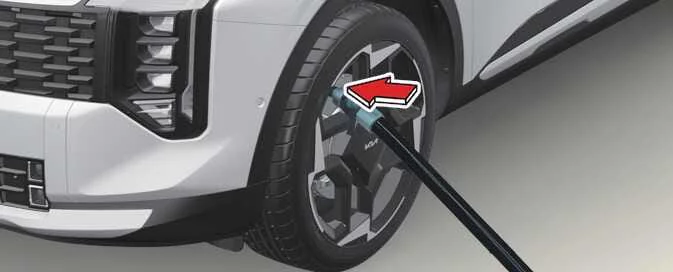
-
Make sure the compressor is switched off.
-
Plug the power connector into the Kia Sportage power outlet.

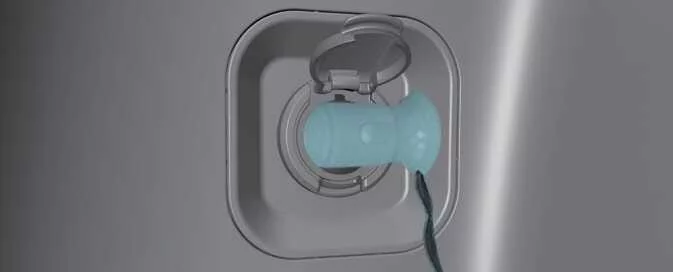
-
Start the vehicle.
-
Switch on the compressor and let it run for approximately 5–7 minutes to pump sealant into the tyre and bring it to the proper pressure.
-
Switch off the compressor.
-
Disconnect the filling hose from the tyre valve.
 If You Have a Flat Tyre (With Tyre Mobility Kit): If Equipped
 Distributing the Sealant. Checking Tyre Inflation Pressure
See also:
Fuse/relay panel description
The inside of each fuse or relay panel cover carries a label identifying the fuse and relay names and their ratings.
Note
The fuse descriptions in this manual may not match every Kia Sportage, bec ...
Repair procedures
Operation and Leakage Check
Check all of the following items:
ComponentProcedureBrake Booster (A)Check
brake operation by applying the brakes during a test drive. If the
brakes seem hard to ...
Air cleaner filter. Replacing the air cleaner filter. Climate control air filter. Replacing the climate control air filter
Air cleaner filter. Replacing the air cleaner filter
Replacing the air cleaner filter
Procedure
Lift lever (1) on the air cleaner cover to release the lock.
...
Categories
- Home
- Kia Sportage NQ5 (2022-2026) Owner's Manual
- Kia Sportage QL (2015-2019) Owner's Manual
- Kia Sportage QL (2015-2019) Service Manual
- Kia Sportage SL 2010-2016 Owner's Manual
- Kia Sportage SL 2010-2016 Service Manual
