 Kia Sportage: Oil hydraulic Motor(Actuator): Repair procedures
Third generation SL (2010ŌĆō2016) / Kia Sportage SL Service & Repair Manual / 4 Wheel Drive (4WD) System / Coupling Assembly / Oil hydraulic Motor(Actuator): Repair procedures
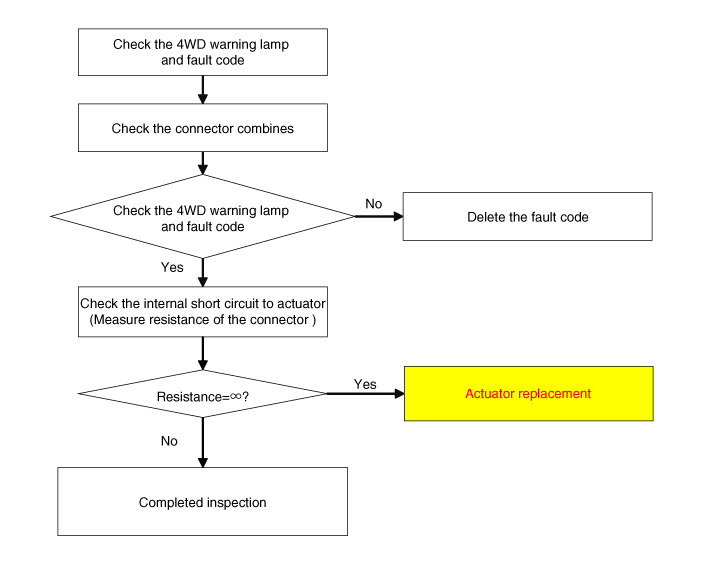
| Inspection |
If you have trouble code related to the oil hydraulic
motor(actuator) (P1825, P1826, P1827, P1828), check oil hydraulic motor
(actuator) according to the inspection process.
|

| Oil Hydraulic Motor (Actuator) Inspection Procedure |
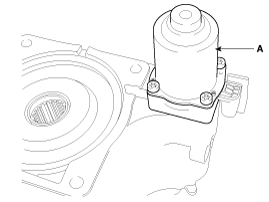
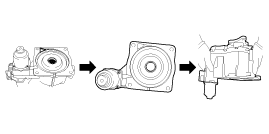
| Removal |
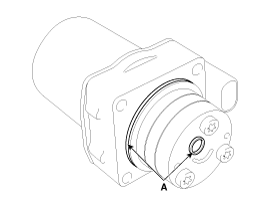
| 1. |
Remove the coupling assembly.
(Refer to "coupling assembly" in 4WD group) |
| 2. |
Keep going perpendicular state after remove the coupling assembly.
|
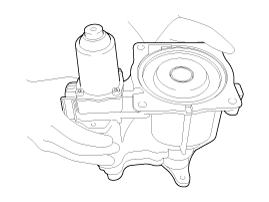
| 3. |
Remove the hydraulic motor (actuators) after loosening bolts with hex wrench.
|

| Installation |
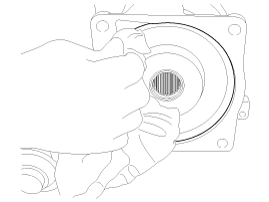
| 1. |
Before installation, wipe the surface with a clean cloth.
|
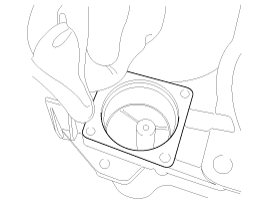
| 2. |
Check the O-rings of the new hydraulic motor (actuators).
|
| 3. |
Tighten the bolts after install the hydraulic motor (actuators).
|
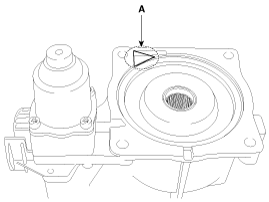
| 4. |
Wipe the flowed oil to around the surface with a clean cloth.
|
| 5. |
Measure the weight of the coupling.
|
 Oil hydraulic Motor(Actuator): Schematic Diagrams
Circuit Diagram
...
 Pressure Sensor: Description and Operation
Description
The 4WD ECU makes a Motor Pump(Actuator) turn round for
generating an oil pressure. And then it presses a multiple disk clutch
and transfers the generated torque into rear wheels. I ...
Other Information:
Fuel Pressure Control Valve: Description and Operation
Description
Fuel Pressure Regulator Valve is installed on the high
pressure fuel pump and controls fuel flow flowing into the injectors in
accordance with the ECM signal calculated based on var ...
Components and Components Location
Component Location (1)
1. Buzzer2. Smart key unit3. RF receiver4. Interior antenna 15. Interior antenna 26. Interior antenna 37. Bumper antenna
Component Location (2)
1. Door outside hand ...
Categories
- Home
- Kia Sportage QL (2015-2019) Owners Manual
- Kia Sportage QL (2015-2019) Service Manual
- Kia Sportage SL 2010-2016 Owners Manual
- Kia Sportage SL 2010-2016 Service Manual

Copyright ® www.kispmanual.com 2014-2026