 Kia Sportage: Front Lower Arm: Repair procedures
Third generation SL (2010ŌĆō2016) / Kia Sportage SL Service & Repair Manual / Suspension System / Front Suspension System / Front Lower Arm: Repair procedures
| Replacement |
| 1. |
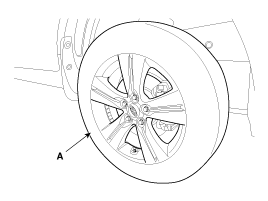
Remove the front wheel & tire.
|
| 2. |
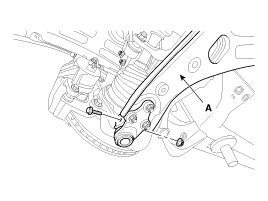
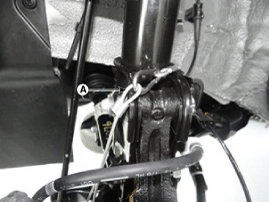
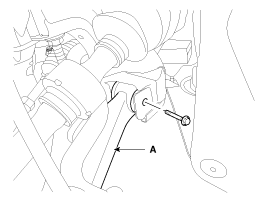
Loosen the bolt & nut and then remove the lower arm (A).
|
| 3. |
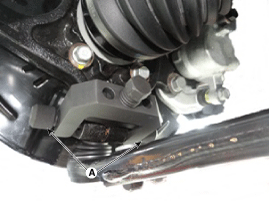
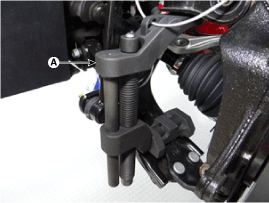
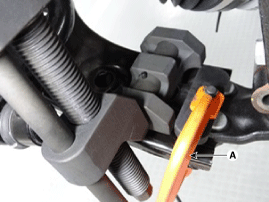
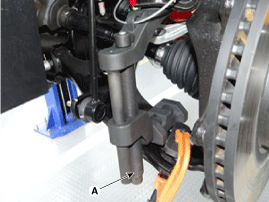
Remove the front lower arm from the front knuckle using the SST (0K545-A9100).
|
| 4. |
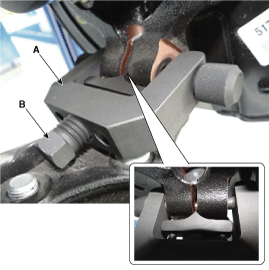
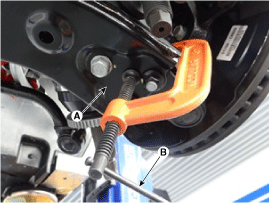
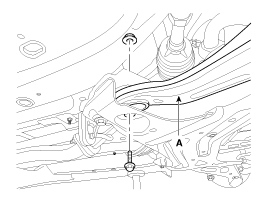
Remove the front lower arm (A) and then loosen the bolt (B, C).
|
| 5. |
Installation is the reverse of removal. |
| Inspection |
| 1. |
Check the bushing for wear and deterioration. |
| 2. |
Check the lower arm for bending or breakage. |
| 3. |
Check the lower arm for deformation. |
| 4. |
Check the all bolts and nuts. |
 Front Strut Assembly: Repair procedures
Replacement
1.
Remove the front wheel & tire.
Tightening torque :
88.3 ~ 107.9N.m (9.0 ~ 11.0kgf.m, 65.1 ~ 79.6lb-ft)
Be careful not to damage to the hub ...
 Front Stabilizer Bar: Components and Components Location
Components
1. Stabilizer bar2. Stabilizer link3. Sub frame
...
Other Information:
Repair procedures
Starter Circuit Troubleshooting
The battery must be in good condition and fully charged.
1.
Disconnect the fuel pump relay (A) in the fuse box.
2.
With the shif ...
Sunglass holder
To open the sunglass holder, press the cover and the holder will slowly open.
Place your sunglasses with the lenses facing out. To close the sunglass holder,
push it up.
WARNING - Sunglass ...
Categories
- Home
- Kia Sportage QL (2015-2019) Owners Manual
- Kia Sportage QL (2015-2019) Service Manual
- Kia Sportage SL 2010-2016 Owners Manual
- Kia Sportage SL 2010-2016 Service Manual
Copyright ® www.kispmanual.com 2014-2026

