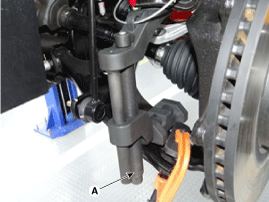
Replacement
1.
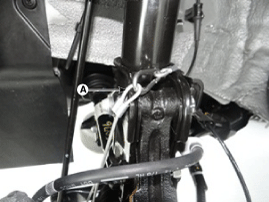
Remove the front wheel & tire.
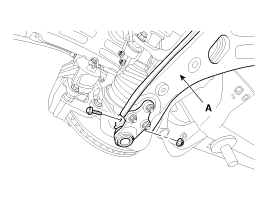
Tightening torque :
88.3 ~ 107.9N.m (9.0 ~ 11.0kgf.m, 65.1 ~ 79.6lb-ft)
Be careful not to damage to the hub ...
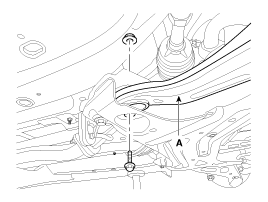
Components
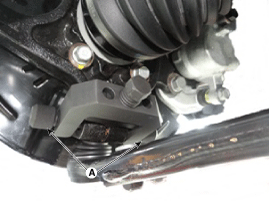
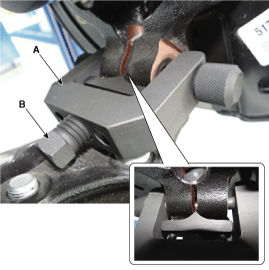
1. Stabilizer bar2. Stabilizer link3. Sub frame
...
Other Information:
Power Door Mirror Actuator: Repair procedures
Inspection
1.
Disconnect the negative (-) battery terminal.
2.
Remove the front door delta cover.
(Refer to the BD group - "Front door")
3.
Disconnect the connector from the door mirror.
...
Troubleshooting
Troubleshooting
SymptomSuspect AreaRemedyWater leaks from panoramaroof Deteriorated roof lid weatherstripReplaceExcessive roof lid-to-body clearance and Improperly fitted weatherstripAdjustWind n ...
 Kia Sportage: Front Lower Arm: Repair procedures
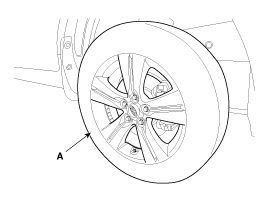


 Front Strut Assembly: Repair procedures
 Front Stabilizer Bar: Components and Components Location